The grout in the shower in our ensuite has needed attention for quite some time, but like with any other home project after one has kids, my wife and I could never quite muster up the enthusiasm to use the other bathroom while we regrouted.
Finally, the opportunity presented itself: I was to return early from a trip overseas while the rest of my family remained a few weeks longer. I committed myself to doing this chore; I looked up a bunch of YouTube videos and read a few DIY blogs online proclaiming crap like how easy it is, and how you can start on Friday night and be ready to shower on Monday night. As usual with things on the Internet, it practically screamed: this is too easy! And yet… disaster.
Most of the material on this topic runs through the same things: use these tools, follow these techniques, etc. What you see very little of, is when things go wrong, why, and what to do when they do. So What I present here are the lessons that I learned from my failure, in the hope that it imparts some wisdom and encouragement to those who – like most people in reality – aren’t Internet Awesome.
Use tools
Oh. My. God. The use of tools is one of our defining features as a species. I don’t know why I believed those people who said it’s possible to just scrape by (pun intended) using nothing but a screwdriver or chisel and a bit of elbow grease. Of course I had to try without buying any tools… did you even catch the name of this blog? :-)
I don’t even have a particularly difficult shower – the tiles are large and hence relatively few grout lines, although having said that, the grout lines are much thinner than those they usually show in the DIY videos. Those ones are usually around 5mm – mine were all 1-2mm, so I was using these tiny little screwdrivers with super-thin shafts, like the ones you use to fix screws on glasses, to chisel, scrape and gouge out the grout from between the tiles. They would bend and break, such that all in all, it took me three weekends and about five different screwdrivers to finish the job the first time.
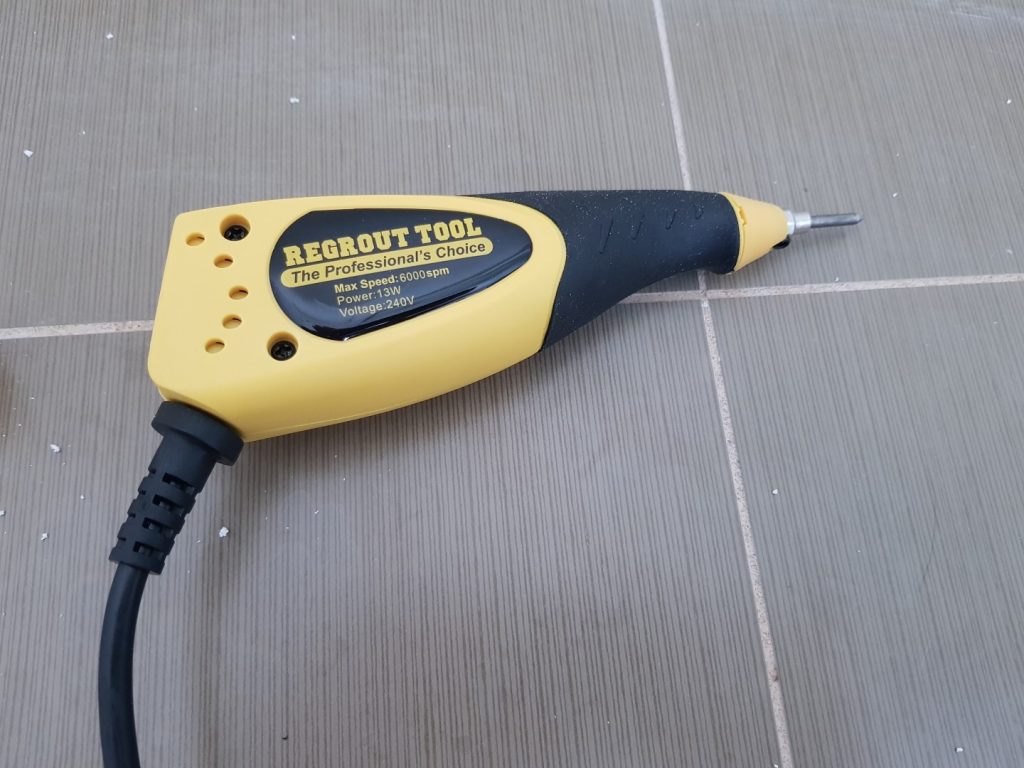
The tool I eventually bought from eBay for my second attempt is simply called Regrout Tool. It wasn’t even expensive – less than $50. Based on what I can see, it seems to be virtually identical to the Hyde brand one sold in the US on Amazon for my overseas readers. This allowed me to pull out all of the shitty pre-mix (see below) in less than an hour, although admittedly the pre-mix was pretty soft. I did pick one line of old, actual grout just to compare, and it did take a little longer but not much. Three weekends vs one hour. You do the math.
The other tool that deserves an honorable mention is this wire brush:
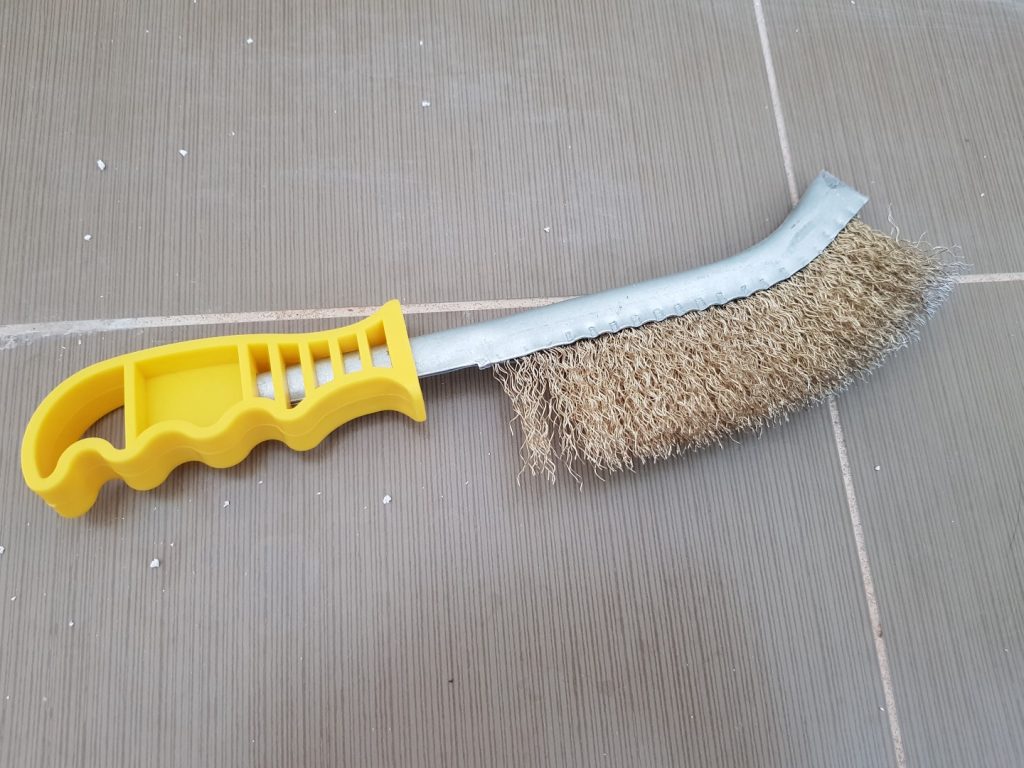
It was brilliant for scraping and cleaning the grout lines. The brass-coated wire bristles were strong but didn’t scratch my tiles (although obviously your mileage may vary… do a test in an inconspicuous spot first). The only downside is that stupid crimp at the tip that sticks out past the bristles, meaning I couldn’t poke it right into the corners and edges.
There are NO shortcuts
I was nervous about mixing the grout and getting the right consistency, given all the dire warnings about grout being too wet, or being lumpy from not being mixed thoroughly enough, etc. etc. So when I saw a bucket of “Ready to use” pre-mixed grout for sale, the lazy part of me fell hard for it. Worst. Idea. Ever.
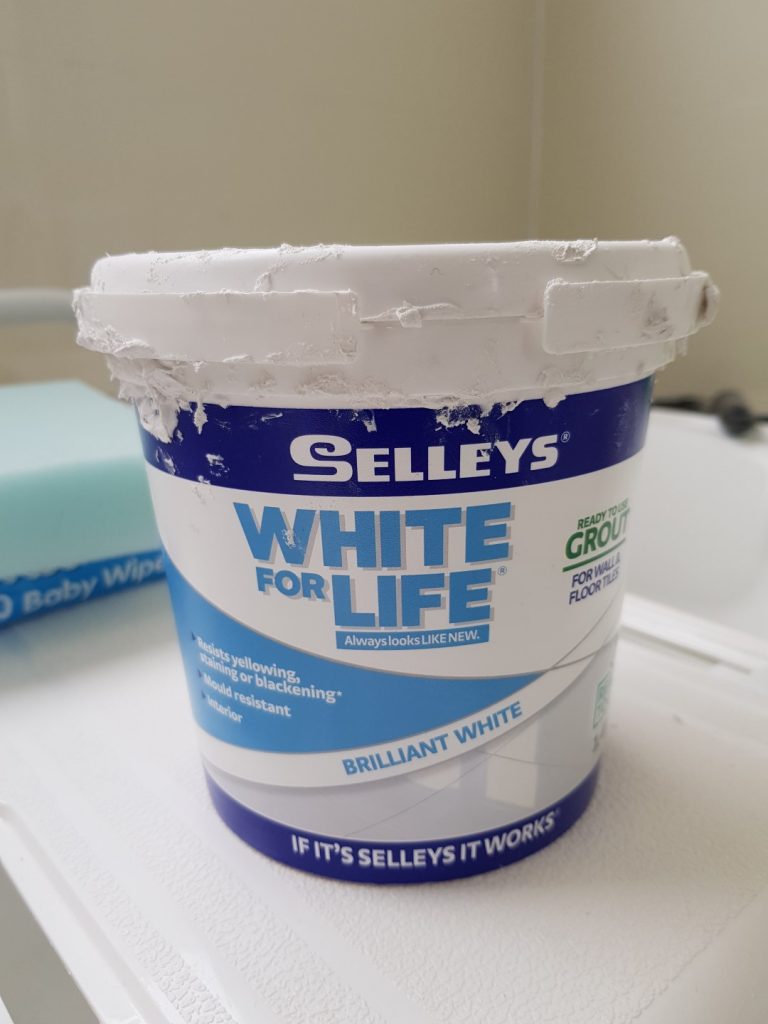
Having already wasted three weekends fiddling around with screwdrivers to remove the grout, I thought I’d reached the easy part (at least it looked easy in the DIY videos): you get a good gob of grout, wave your grout float around a bit, wait for it to set, wipe down the tiles, and voila!
NOPE.
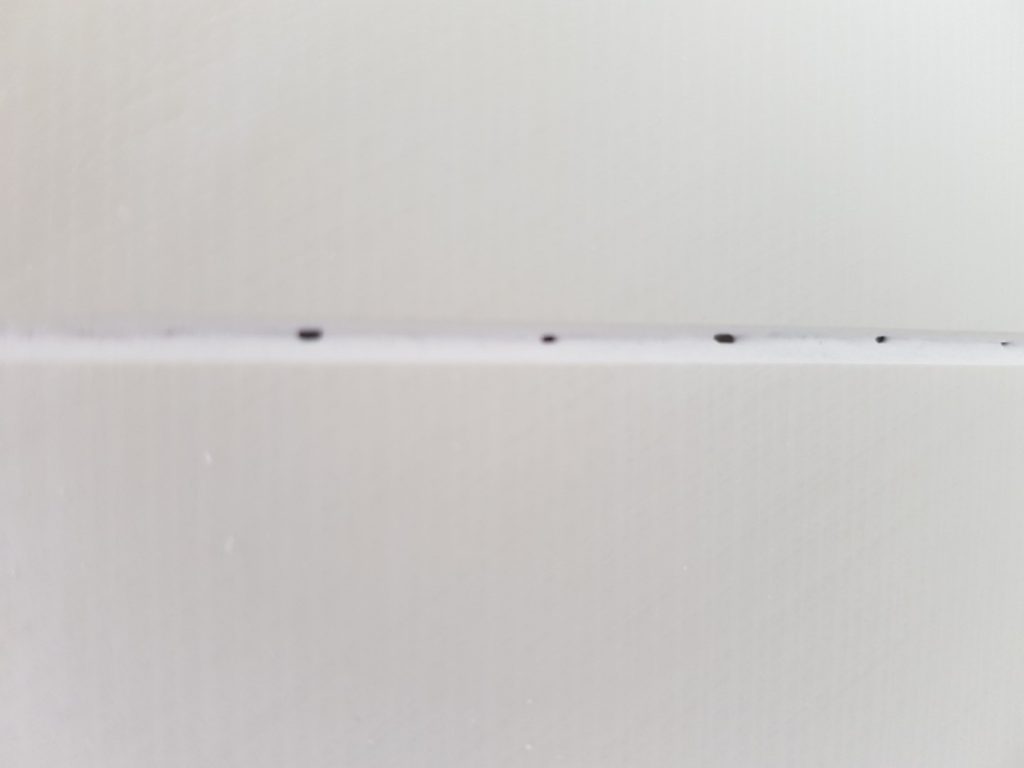
After admiring my magnificent grout work, I went away thinking it’s finally over! only to find the next day that all of the grout had sagged – recessed into the grout line and developed little holes from where there was no longer enough grout to hold it together.
I had no idea what I did wrong, so dejectedly, I posted a question on Quora. A couple of kind strangers pointed out that the problem was likely to be with the grout, with one even specifically guessing that I’d used pre-mix.
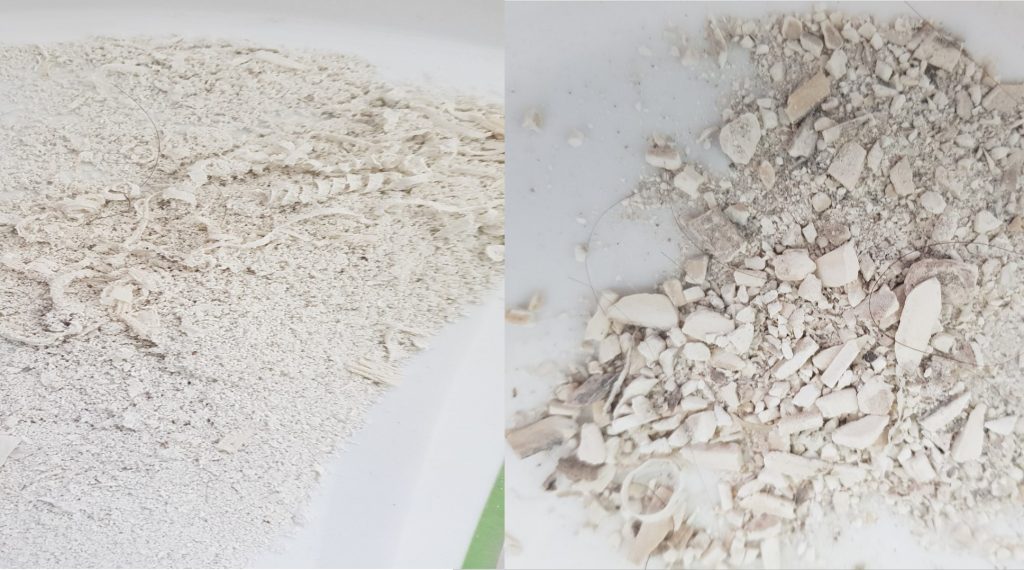
In the image above, you can see the difference between the pre-mix on the left, and actual, real grout on the right after I pulled them out from the wall. The pre-mix is soft and rubbery, almost like caulk. Real grout is crumbly, rock-like.
Know your tiles
The last lesson is probably the most obvious one. In order to minimise the chance of damaging your tiles, take a minute to just have a look at your tiles and see if you can see anything that will help you avoid chipping them. For example, mine have a distinct “grain” to them, which you can just see in the image below as faint lines running vertically through the tile. This made them much more easy to chip along the horizontal edge than the vertical. That meant when using the degrouting tool, I had to be more careful going across the lines.

That’s it. I hope this information proves to be of some use to my fellow DIY n00bs out there. Good luck!
